

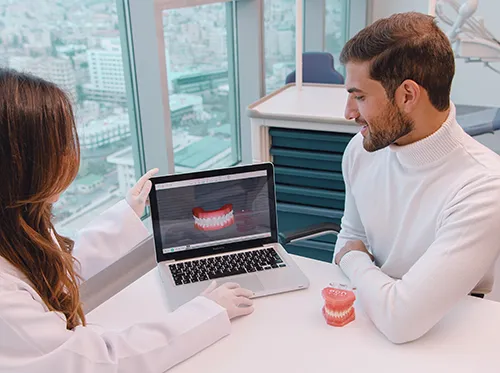
Getting used to clear aligners takes a little practice, especially when it comes to putting them in and taking them out. Following the right steps ensures a perfect fit, prevents damage, and keeps your treatment on track.
In this guide, we’ll walk you through how to insert and remove your aligners safely, with tips to make the process easier over time.
How to Insert Your Clear Aligners
To ensure your aligners fit properly, follow these steps:
- Start with clean hands, wash your hands and dry them thoroughly.
- Center the aligner on your upper teeth.
- Press down evenly, you can start from front to back, or back to front, the idea is to press gradually not all at once.
- Repeat the same steps for the lower aligner.
- Listen for the click, you should feel or hear a clicking sound when your aligners fit into place for a snug fit.
- Bite down on chewies for 10 minutes each day, this will help your aligners settle and fit optimally.
Note: Never try to force the entire aligner into place at once as this can damage it.
How to Remove Your Aligners
Removing aligners may feel tricky at first, but the technique makes all the difference
Removing the top aligner
- Place your fingertips on the inside edge of your back teeth
- Apply gentle downward pressure along the edges to loosen the aligner
- Release one side, then the other, and slide it forward off your teeth
Removing the bottom aligner
- Start at the back teeth on the outside edge.
- Apply upward pressure, working your way toward the front.
- If that feels difficult, try starting from the inside edge and pushing upward until the aligner slides off.
Using the Removal Tool
If your aligners feel too tight to remove comfortably, you may use the aligner removal tool if it is included in your kit. Hook it onto the edge of your aligner and gently lift until it slides off.
Note: Never bend, twist, or pull off your aligners all at once, this can crack them or warp them.
Getting More Comfortable Over Time
At the start of treatment, inserting and removing aligners may feel challenging. But with practice, it becomes easier. Within a few days, most patients start to find the process effortless.
Consistency is key, the more you follow the proper techniques, the easier it will become, and the more effective your aligner treatment will be.
📺 Want to see it in action? Watch our step-by-step video tutorial here:
FAQS
References
Related Articles
From Consultation to Completion: Your Aligner Journey

Clear Aligners For Crowded Teeth: Why They Are An Effective Treatment

Benefits of Teeth Straightening: 10 Reasons Why You Should Think About It
.svg)
© Eon Aligner Copyright 2023 All rights reserved